
Espresso recipe 1
0.
gm/l

If sour
There’s less than a 10% chance this recipe will be ideal for your roast level. However, if you’ve measured the density, your chances of success soar to 68%. Don’t hesitate to experiment with another recipe based on your taste test results—finding what tastes best for you is worth it!
Espresso parameters
Espresso directions
Don’t get hung up on the details. If you can’t change your pressure, maybe you don’t have a complete set of baskets, you don’t know what that grind size even means. It doesn’t matter.
Providing you are changing the dose, the yield, the ratio, the bits you can, you will be changing the TASTE, and that is what matters. YOU are finding a RECIPE that tastes better than the last recipe you tried.
1.
Pre-heat your espresso machine, portafilter, basket, and coffee cup.
2.
Get your single dose out of the freezer. If you are not single-dosing and freezing your coffee, read How to Store Coffee Beans – 9 tips. While at it, read Best Coffee Beans – Six Purchasing Tips.
Shots of espresso these days are nearly always a double shot of espresso. Double shots are now the standard in America and many places worldwide. A single shot of espresso is scarce. Traditionally, a single shot (solo) of espresso uses about 7g of espresso-fine grounds. If you want to make a single, pull a double, but use a split portafilter to halve the shot.
3.
4.
Grind your frozen coffee; do not defrost it. Either grind into an espresso shaker funnel or using a dosing funnel, grind it into the right-sized basket in a naked portafilter.
5.
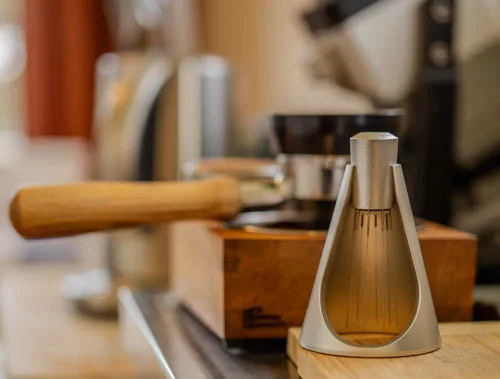
Puck prep: I use a WDT tool to break up clumps and redistribute them. I use a levelling tool and a levelling palm tamper. Then, I cover it with a shower screen to help evenly distribute the water.
6.
Place the scales under your cup, tare, and start the timer.
7.
Increase the pressure to 8 bar. Pre-infusion (pausing until the first drip appears) is only necessary if the beans are extremely fresh (for example, within 2 days of roasting) and are degassing so much that it affects extraction. This scenario is quite rare, so you probably won’t need to pre-infuse.
To monitor the extraction, use a mirror to watch the bottom of the naked portafilter. If you notice any spritzing, ease off the pressure for a moment. Reduce the pressure to 6 bars to maintain a steady flow rate. Stop the shot once you have reached your target yield. The extraction time should be approximately 30 seconds.
If the shot is running very slowly despite high pressure, you need to adjust your grind to a coarser setting. Conversely, if the shot is running too quickly and you cannot maintain pressure, you should grind finer.
8.
Now, the most crucial step. Before adding milk, stir the espresso and crema, dip a teaspoon in and taste (you don’t need a spoonful, it just needs to be wet). Is the coffee sour? If so, next time you make this coffee, extract more using the recipe indicated by the button above.
9.
If the coffee is not sour, ask yourself if it is very bitter. Bitterness is more difficult because all coffee is bitter to some extent. However, you can reduce bitterness by extracting less. Go too far, and it will turn sour. You are looking for the calm spot in between. Just above sour will taste the best. If you need to reduce bitterness next time you make this coffee, extract less by using the recipe indicated by the button above.
10.
Add the bypass hot water (optional). Adding hot water reduces the blanket of milk and increases the coffee’s apparent strength while keeping the volume up.
11.
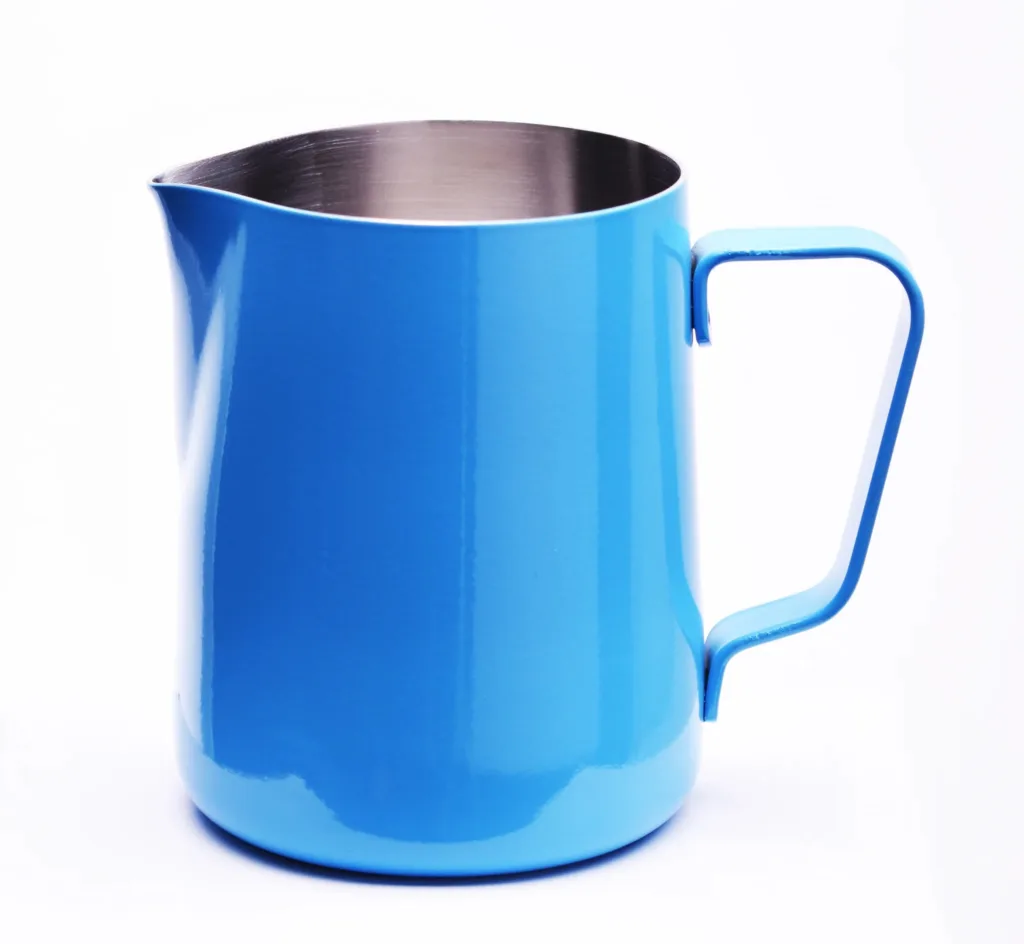
Add the steamed milk. Espresso con panna (whipped cream) may be a little OTT, but adding 5-10ml of cream to your milk before steaming can help the body and taste. Another option is adding 15% coconut milk.
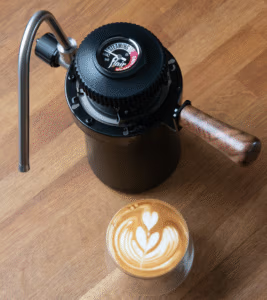
Espresso equipment
I only endorse equipment I have purchased myself, and I do not earn a commission or have any links to the companies I recommend.


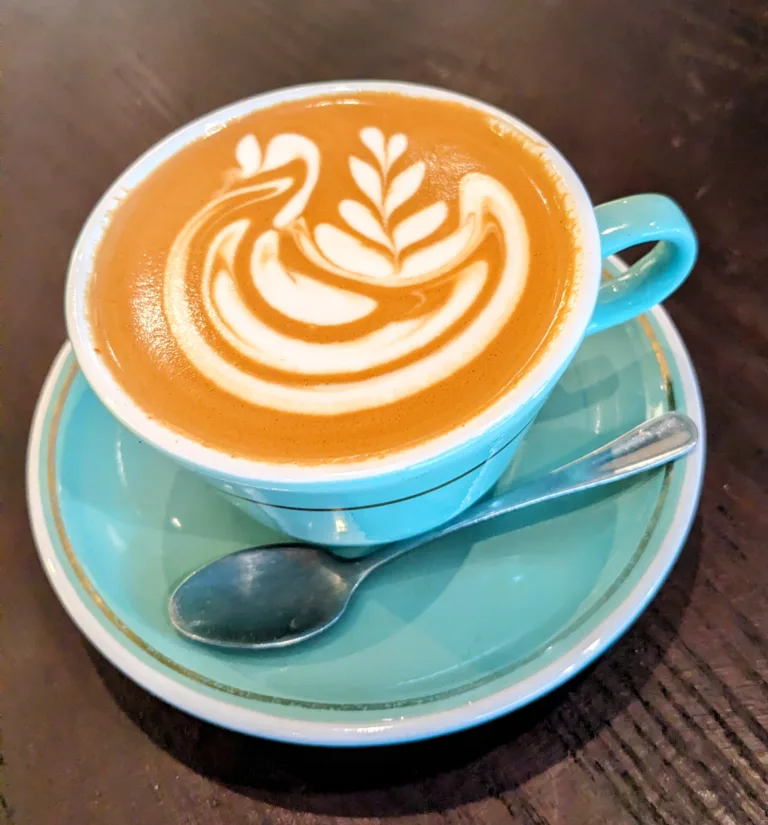
An example of a coffee I'm drinking
Indian Monsoon Malabar
This is a coffee Meebez has stocked in its retail store since day one and I must admit it was initially one of those coffee’s that I wasn’t too sure on at the beginning. As per normal with our stock levels, sometimes we have a certain single origin or blend that runs out and we refer customers to the closest alternative. The problem with a coffee like Malabar is that there is no other coffee remotely similar in our range. The Monsoon Malabar was also always one of the coffee’s that we couldn’t run out of. Why?
I quickly learned that Monsoon Malabar drinkers are very loyal and won’t settle for an alternative.
Why is Monsoon Malabar so unique?
It’s flavour, processing method and even its appearance is very different to other coffee.
The raw beans of most coffee are green in colour and the Monsoon Malabar is yellow. It is also slightly larger in physical size than most other raw beans and it is a lot less dense. This means that with the same volume of raw beans, the Malabar takes up more space.
Acidity
The Monsooned Malabar coffee is often regarded as the lowest acidic coffee in the world. This poses many advantages for those looking for a coffee with lower acidity to align with a higher alkaline diet. We are unable to guarantee the PH of the Malabar due to the water being used to brew the coffee having a big factor on the final PH of the coffee.
Flavour
I often say to people looking at this coffee that it is one that people either love or hate. Its aroma is very distinct and a fair representation of the cup and I often refer to the aroma as malt and slightly burnt caramel.
With an extremely low acidity, the Malabar has a big bold flavour profile. We roast this coffee reasonably light to bring out its natural malt sweetness, similar to that of a malt biscuit. It also has hints of spice, rustic nutty tones and a chocolate/malt sweetness.
Processing
The processing method of the Malabar is extremely unique and unlike any other coffee. Once the cherries have been picked, it is sun-dried in allocated areas. The dried beans then get seasoned and divided into quality selections of A or AA.
From here, the beans are now stored and protected until the beginning of the monsoon season in India. This season occurs from June to September and the raw beans are exposed to the winds and humidity of the Indian coast for a total of 3-4 months. After the season is over the beans get transferred to an open warehouse with ventilation for 12 – 16 weeks.
During the time the beans are left in the Monsooned winds, there is still a reasonable amount of labour involved to spread, rake turn the coffee at regular intervals to ensure evenness. The beans absorb moisture from the wet sea winds causing them to swell hence their large physical size. This also regulates the PH of the coffee as they turn into a golden yellow.
Malabar at Meebz
The time I am writing this blog post is when our new shipment arrives after being out of stock for almost 2-months. We were unable to find any coffee wholesalers with raw beans of the Malabar so we requested a special order.
Our latest Malabar is from the recent harvest and is the highest-grade Malabar available (AA). Unfortunately like many things, the cost of the raw beans has increased and we have also had to increase its price.
About the Roaster
Model Version:
How you can help
I have a dream:
- it might raise the standard of coffee-making globally
- It might reduce dialling in waste, time, and frustration
- It might encourage people to explore more varieties and pay more attention to the producers.
- You might be prepared to pay more for better coffee if it pleases you, returning more money to growers.
You can help:
- The best thing you can do is spread the word on other platforms, such as Reddit or Facebook coffee forums, and share with others how this method can solve everyday problems.
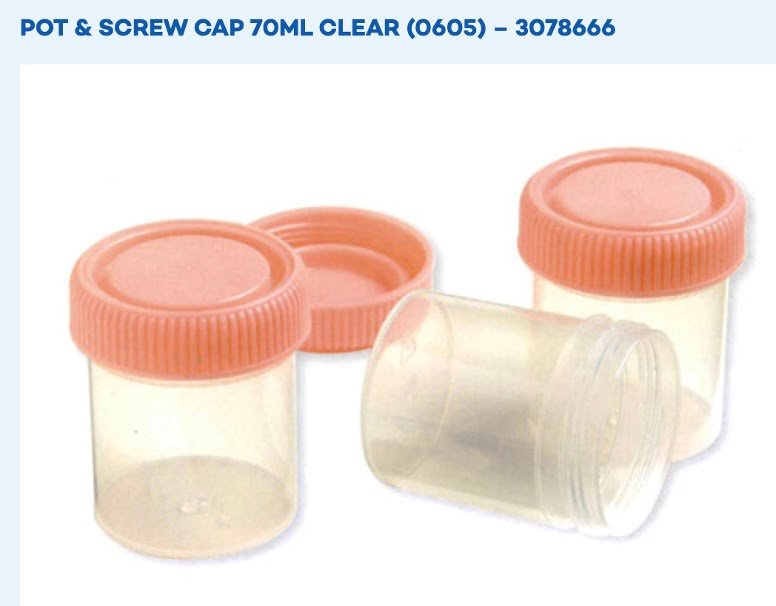
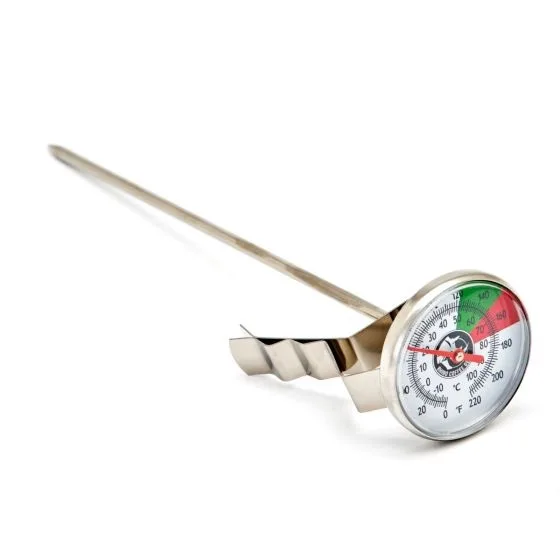
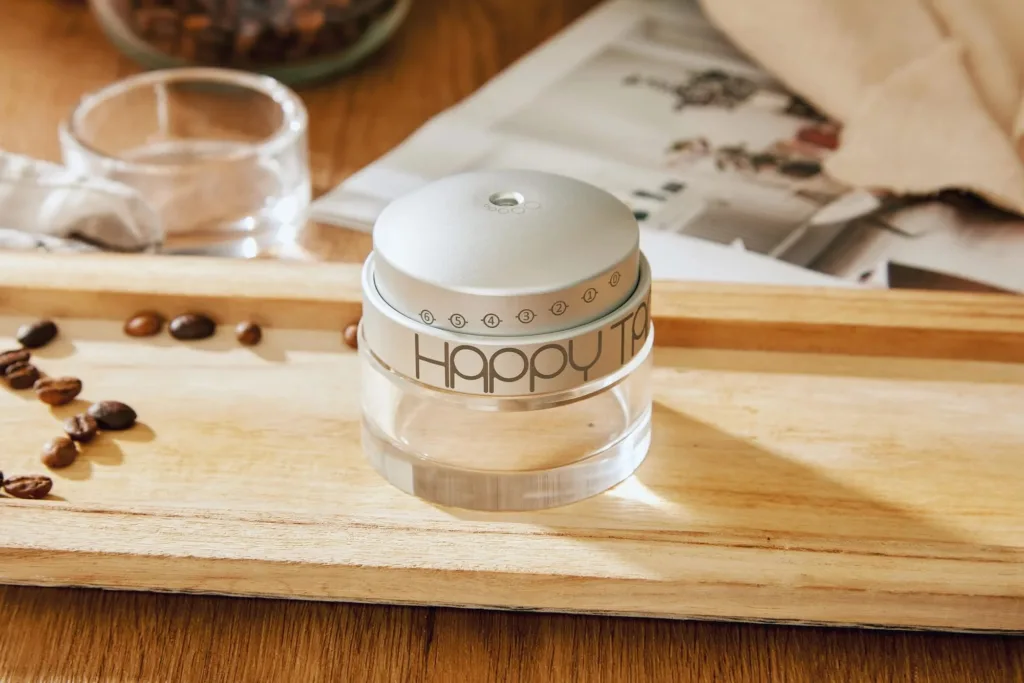
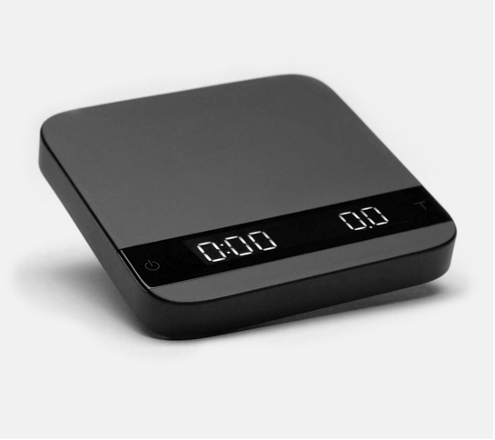
- Use 0.1g accurate scales, the recommended 100ml measuring cylinder. Entering quality data into the form helps improve the model.
- Provide evidence-based feedback for parameter range adjustments to help improve the model.
- Support the site financially via Patreon donations to help with ongoing running costs, site hosting fees, and plug-in subscriptions.
